No Impact Not No Progress An Evidence Led Bridge to Bone Loading When Jumping Is Not Tolerable
G
Based in Western Europe, I'm a tech enthusiast with a track record of successfully leading digital projects for both local and global companies.
Search for a command to run...
Based in Western Europe, I'm a tech enthusiast with a track record of successfully leading digital projects for both local and global companies.
No comments yet. Be the first to comment.
Navigate women's health with confidence: science-backed articles on hormones, nutrition, fitness, advocacy, and real stories. no hype, just clarity and actionable insights for evidence-seeking women.
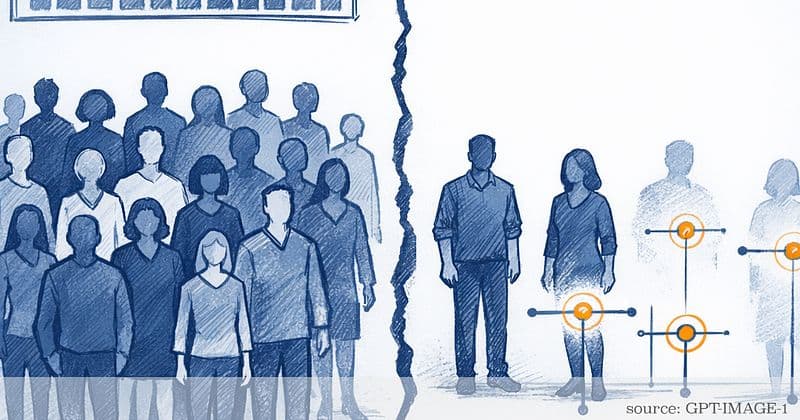
Clinical trials increasingly highlight “diverse enrollment” as proof that results apply to everyone. But a baseline table with more categories is not the same as evidence you can use when the question is specific: What are the benefits and harms for ...
Sawdust is still stuck on my hands. The tile feels cool under my feet. My backpack is half packed, and the “usual” corner where I train is blocked by a plank that seemed like a good idea two hours ago. Same week on the calendar, same motivation in th...

The air in my garage gym in France smelled like tilia while I was stretching. Soft, almost sweet. The kind of smell that makes your shoulders drop by one millimeter, just because life feels normal for a second. Then I sat back down for a remote workd...

Dust still in my shoes from a hike outside Lisbon, my lungs feel clear and my legs feel loud in the best way. Wind in the trees. That clean outdoor smell stuck in my clothes. Then I’m back at my remote work corner and everything goes quiet, almost to...
The screen glow is a bit brutal at 7am. Slack is already awake. Little green checkmarks. A sweaty selfie or two. And suddenly the movement that was supposed to be for me starts to feel like something that can be evaluated, stored, and maybe reused la...

Clinical trials increasingly highlight “diverse enrollment” as proof that results apply to everyone. But a baseline table with more categories is not the same as evidence you can use when the question is specific: What are the benefits and harms for ...
Research in postmenopausal women is unusually consistent on one point: the most reliable bone mineral density (BMD) gains come from progressive heavy resistance training, and outcomes often improve further when impact is added—done for months, not weeks. That lines up with what position statements say bone responds to: specific mechanical loading, not just “being active” (Kohrt et al., 2004; Watson et al., 2018).
The practical problem is that many people can’t tolerate impact right now because of pelvic floor symptom provocation, a joint flare, a bone stress history, or simply hard-earned caution after setbacks. If you’ve been told to “just do some gentle jumping” or, conversely, “never lift heavy,” it makes perfect sense that you feel stuck—those are not actionable training plans. That’s where the “impact-or-nothing” trap shows up: bone-focused training becomes either (1) a lot of effort that still under-loads bone, or (2) a rushed return to jumping that outpaces tissue capacity and triggers next-day consequences. This article is built for the middle ground: a no-impact bridge that still respects bone physics, so training can move forward without pretending that walking more is the same stimulus as high-strain loading.
Here’s what you’ll gain by reading on:
Throughout, the evidence boundaries stay explicit: if maximizing BMD is the goal and impact becomes tolerable, heavy resistance training plus impact remains the most supported route (Watson et al., 2018). This bridge isn’t a substitute for that—it’s a way to keep training moving while you build the capacity that makes future impact more predictable and less costly in symptoms.
Research in postmenopausal women shows the most reliable BMD gains come from high-load progressive resistance training, often paired with impact, performed consistently for months (e.g., LIFTMOR used ~80–85% 1RM plus impact over ~8 months) (Watson et al., 2018). Position stands and reviews converge on the underlying principle: bone adapts to specific mechanical loading, not just “being active” (Kohrt et al., 2004).
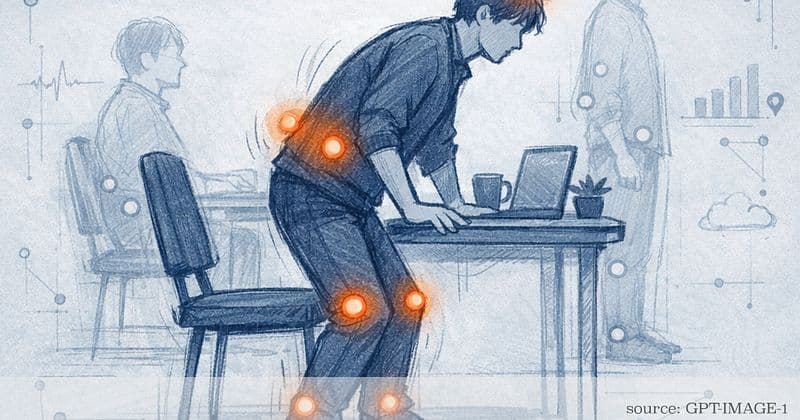
The mismatch is predictable: someone is told “no jumping right now” (pelvic floor symptom provocation, joint flare, bone stress history, or impact aversion after setbacks), while many “bone workouts” default to hops and bounds. If impact isn’t tolerable today, a structured bridge helps prevent the common swing between under-dosing (lots of comfortable movement that doesn’t challenge bone-relevant variables) and flare-ups (too much, too soon).
This bridge targets three adaptation lanes that do not progress on identical timelines:
1) Bone stimulus variables: prioritize magnitude, rate (how fast force is applied), and distribution/novelty of loading (Turner, 1998). Bone also shows a saturation/refractory effect (it stops “counting” endless identical reps after a small number of high-quality hits), so a small number of well-chosen loading cycles can matter more than endless reps (Robling et al., 2001; Robling, Burr & Turner, 2006).
2) Tendon + foot/ankle capacity: build tolerance for faster forces with staged progressions: start with isometrics or heavy-slow calf raises 2–3×/week, then progress to faster, shorter-contact calf work only when next-day stiffness and symptom response stay stable (Cook & Purdam; Malliaras/van Ark frameworks).
3) Optional future landing skill: landing mechanics can be trained later, once tissues tolerate faster forces.
Bone is selective about stimulus. Across models of bone adaptation, strain magnitude (how much bone is deformed), strain rate (how fast that deformation happens), and distribution/novelty tend to matter more than simply doing more cycles (Turner, 1998). This helps explain why long walks, steady cardio, or moderate lifting can feel hard yet produce little hip/spine DXA change: metabolic stress is not the same as high bone strain. Adding more minutes can also run into diminishing returns because of saturation (Robling et al., 2001; Robling et al., 2006).
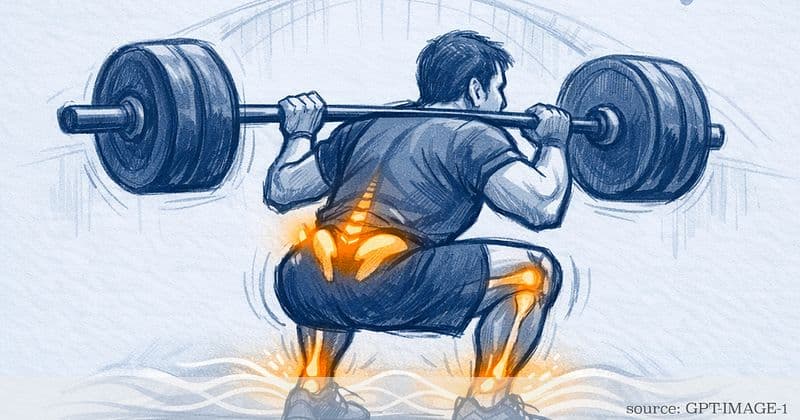
A common script is heavy-ish lifting followed by an impact “finisher” (burpees, box jumps). Power work is fatigue-sensitive; as velocity drops, the session shifts from “rate stimulus” into low-quality contacts (González-Badillo & Sánchez-Medina, 2010; Pareja-Blanco et al., 2017). That’s when tendon flare-ups, shin irritation, or pelvic floor symptom spikes become more likely—not because impact is inherently “bad,” but because quality has fallen while forces are still high-rate.
A practical guardrail is the 24-hour response check: some discomfort during loading may be acceptable, but symptoms should return to baseline by the next day. Escalation or lingering suggests dose exceeded current capacity (Silbernagel heuristic).
The goal is the “missing middle”: anchor magnitude with heavy strength training, add fast concentric intent to train part of rate without airtime, and broaden distribution/novelty via unilateral work and carries.
Scope note: this is written for postmenopausal and late-perimenopausal people where bone-density priorities are front and center. Postpartum pelvic-floor rehab, acute or suspected stress injury, and other situations requiring medical or pelvic health clearance need individualized guidance.
Evidence boundary: this is not a replacement for impact if maximizing BMD is the goal and impact becomes tolerable. Heavy resistance training plus impact remains the most reliable route (Watson et al., 2018). It’s a way to keep progressing key “bone dials” while building the capacity that makes later impact more predictable.
Trials like LIFTMOR and related heavy-loading work share a basic theme: repeatable overload for months (Watson et al., 2018). Practically, pick a small cluster of hip/spine-loading patterns (squat pattern, hinge pattern, one unilateral pattern) and get measurably stronger.
If symptoms constrain range or positions, keep the loading intent while changing the lift setup (e.g., box squat or belt squat instead of deep back squat; trap-bar deadlift instead of straight-bar). For pelvic floor tracking, validated tools like ICIQ-UI SF and PFDI-20 subscales can help detect patterns over time. They do not provide universal “clearance” thresholds (ICIQ-UI SF; PFDI-20).
Time horizons matter: DXA-detectable BMD change commonly needs ~6–12+ months, and interpretation depends on least significant change (LSC). If you use DXA to judge progress, ask the imaging center (or the report/radiology department) for their facility’s LSC for the hip/spine so you know what change is large enough to be considered “real” beyond measurement noise. Use interim markers too: repeatable load/rep progressions plus stable 24-hour symptom response.
High-velocity resistance training (HVRT)—controlled eccentric, then “accelerate up” concentrically—reliably improves muscle power and functional performance in older-adult and postmenopausal trials, commonly run for ~8–16+ weeks at 2–3 sessions/week (e.g., Stengel; Fielding; Miszko; Henwood & Taaffe). Bone outcomes without impact are more variable, so label BMD effects as promising/uncertain.
To preserve the “rate” stimulus, manage fatigue (the rationale is simple: if reps slow down, you’re no longer training speed/power in the same way): low reps, longer rests, and stop when reps slow. Peak power commonly occurs around ~30–60% 1RM in many lifts (exercise-dependent) (Kaneko et al., 1983; Cormie et al., 2011; Haff & Nimphius, 2012). One workable starting template is 5×3 with 2–3 min rest, done early, then adjusted based on your next-day response and rep quality.
Quality rule (device-free): end the set when reps become visibly slower or “grindy.” If using velocity tools, smaller velocity loss (often ≤10–20%) better preserves power quality than higher loss (González-Badillo & Sánchez-Medina, 2010; Pareja-Blanco et al., 2017).
Bone also responds to where and in what direction strain occurs (Frost/Turner; Nikander reviews). Without jumping, this can be trained with unilateral patterns, offset loading, and frontal-plane work (e.g., lateral lunge) plus carries. Exact dosing in humans is not nailed down.
Because of saturation/refractory effects, high-quality exposures matter more than endless fatigued reps (Robling et al., 2001; Robling et al., 2006). Avoid constant program churn that prevents progressive overload.
Practical rotation rule: keep main lifts stable ~4–8 weeks, then change one variable (stance, implement, ROM, load placement) if progress stalls or symptoms require it. RCTs do not define a single “best” rotation cadence.
Minimum-effective structure: 2 lower-body sessions/week, anchored by one hinge, one squat pattern, and one unilateral lift. Better outcomes cluster around ~70–85% 1RM over 6–12+ months (Kohrt et al., 2004; Watson et al., 2018). Work mostly in 5–8 reps, stopping 1–3 reps in reserve to keep mechanics repeatable.
Modify vs stop: modify for mild, reversible symptom bumps; stop and seek evaluation for red flags such as focal bone pain, night pain, escalating pain with walking or hopping, or known high-risk stress injury sites (risk-stratified BSI guidance).
Add 3–6 sets of 3–6 reps, 2–3 min rest, early in the session. If breathing or metabolic burn becomes the limiter, the session has drifted away from power training. Cluster sets can help maintain output (Tufano et al., 2017).
Carries add loaded gait, trunk control, and different loading distribution. Evidence for falls reduction supports strength and balance training broadly (Sherrington et al., 2019). Carry-only DXA trials are scarce, so frame carries as a mechanistically aligned adjunct.
Progress carries via load, position, distance/time, using posture as the gate (no obvious side-bend or rotation). Add low-amplitude fast contacts (fast marches, stomp steps) only if next-day response stays calm; treat this as an intermediate exposure before any optional impact.
You add fast marches after your strength work on Tuesday. During the session you feel fine, but Wednesday you notice pelvic-floor heaviness that’s clearly above baseline and lingers.
Next week, keep magnitude the same (same main lifts, same loads/reps), keep distribution the same (don’t add new unilateral or offset variants), and adjust only the rate exposure: cut the fast grounded contacts by 50% (or remove them entirely) and keep the fast-intent sets earlier in the workout with longer rests. Re-test with the same 24-hour rule. If heaviness returns to baseline next day, you’ve found a tolerable rate dose; if it doesn’t, you’ve learned that “rate” needs a slower ramp right now—without throwing out your heavy strength work.
Minimal dashboard:
Limits to state clearly: HVRT improves power/function reliably, but BMD effects without impact are smaller and less consistent than heavy resistance training with (and sometimes without) impact. Carry-only BMD evidence is limited. And dosing questions in women’s health are still under-answered in parts of the literature. The practical response is criteria-based progression, changing one dial at a time, and letting tracked outcomes decide the next step.
Heavy progressive lifting over months is still the anchor. The bridge simply keeps you out of the under-dose/flare-up loop by giving you controllable levers—especially if impact is off the table right now.
Which dial—magnitude, rate, distribution, or novelty—would you adjust first, and what does your next-day response typically tell you?
References (selected): Watson et al., 2018; Kohrt et al., 2004; Turner, 1998; Robling et al., 2001; Robling, Burr & Turner, 2006; González-Badillo & Sánchez-Medina, 2010; Pareja-Blanco et al., 2017; Kaneko et al., 1983; Cormie et al., 2011; Haff & Nimphius, 2012; Tufano et al., 2017; Sherrington et al., 2019; ICIQ-UI SF; PFDI-20; Stengel/Fielding/Miszko/Henwood & Taaffe (HVRT trials).